The basics
Connecting your data
- Uploading data to Datashift
- Proper data format for uploading
- Working with different file types
- Types of data Datashift can read
Working with projects
Working with data
- Datafile options
- Adding and deleting data
- Linking datafiles together
- Appending datafiles together
- Re-loading data
- Making data update in real-time
- Downloading individual datafiles
- Renaming datafiles
- Data headers
- Adding meta data
- Performing calculations on your data
- Working with alerts
Working with dashboards
Working with your team
Uploading data to Datashift
Currently, there are three ways to upload datafiles:
- Uploading directly from your computer
- Connecting your files through Dropbox
- Connecting to a Solinst LevelSender
Note: We're working hard to add new connection types everyday. If you don't see any way for you to be able to ingest your data please get in touch with us to let us know what data connectors you'd like to see in Datashift. We also have experts standing by to work with you to automate your data pipeline.
1. Uploading directly from your computer
To upload a datafile from your computer:
- Within your project, click the "Add data" button on the top right corner.
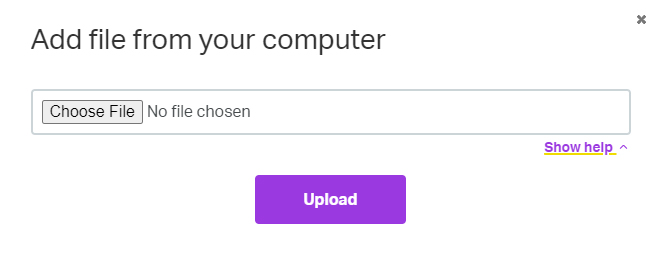
- Select "Computer", then click on "Choose file" where it saysUpload a file from your computerand select the file you want to upload.

- Click on "Upload" to upload your datafile.
2. Connect your Dropbox account
Connecting your Dropbox account to Datashift allows you to set up real-time data analysis. When your files update in Dropbox they automatically update in Datashift.
To connect your Dropbox account and upload a datafile:
- Click on your name on the top right corner of the screen.
- Click on "Account settings" from the dropdown menu.
- Click on "Integrations" from your account page and then click "Link Dropbox".
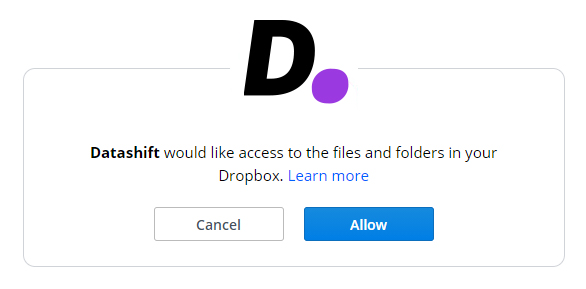
- Log in to Dropbox (if not already logged in) and select "Allow" for Datashift to be able to access your files and folders.

- Once your accounts are linked, go back to your project and click "Add data".
- Select "Dropbox", navigate to the file you want to upload then click "Upload".
Tip: Datafiles uploaded from Dropbox are not set to update in real-time by default. For real-time data updates from Dropbox, on your project page hover over a Dropbox datafile and click on "Options". Then click on "Real-time", check "Check this file for real-time updates" and select the frequency in which Datashift will scan your Dropbox file for new data.
3. Connect to a Solinst LevelSender
Connecting to your Solinst LevelSender will allow you to automatically recieve new data every time your LevelSender transmits data. Create notifications and graphs for real-time data monitoring from your field locations.
To connect your Solinst LevelSender datalogger:
- Within your project, click the "Add data" button on the top right corner.
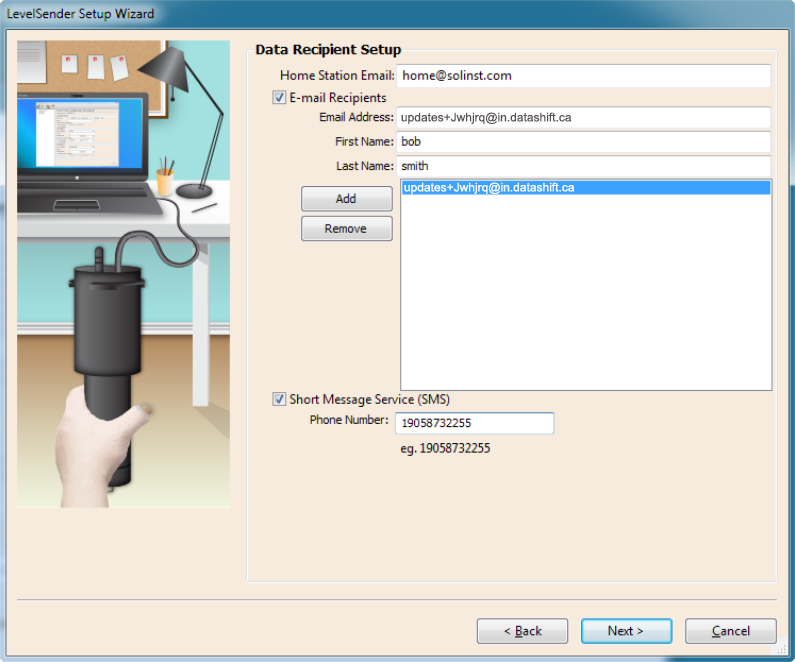
- Select "LevelSender" click "Copy email to clipboard" and then click "Add file".
- Paste your unique LevelSender email address into your Data Recipent Setupsection in your LevelSender software.
