The basics
Connecting your data
- Uploading data to Datashift
- Proper data format for uploading
- Working with different file types
- Types of data Datashift can read
Working with projects
Working with data
- Datafile options
- Adding and deleting data
- Linking datafiles together
- Appending datafiles together
- Re-loading data
- Making data update in real-time
- Downloading individual datafiles
- Renaming datafiles
- Data headers
- Adding meta data
- Performing calculations on your data
- Working with alerts
Working with dashboards
Working with your team
Making your data public
By default every project you create will be set to private. However, there are still ways to share each project: you can share within your team or share with the public.
Add team members to private projects
There is no limit on how many members can be a part of a project, just like there is no limit on the total number of uesrs in your Datashift account.
Click here to see how easy it is to sharing your project with your team.
Make your project public to everyone within Datashift
Seting a project to public will give everyone the ability to follow your project and have read-only access to your datafiles. They will not be able to edit your data in anyway but will have the ability to download a .csv copy.
To set your project to public:
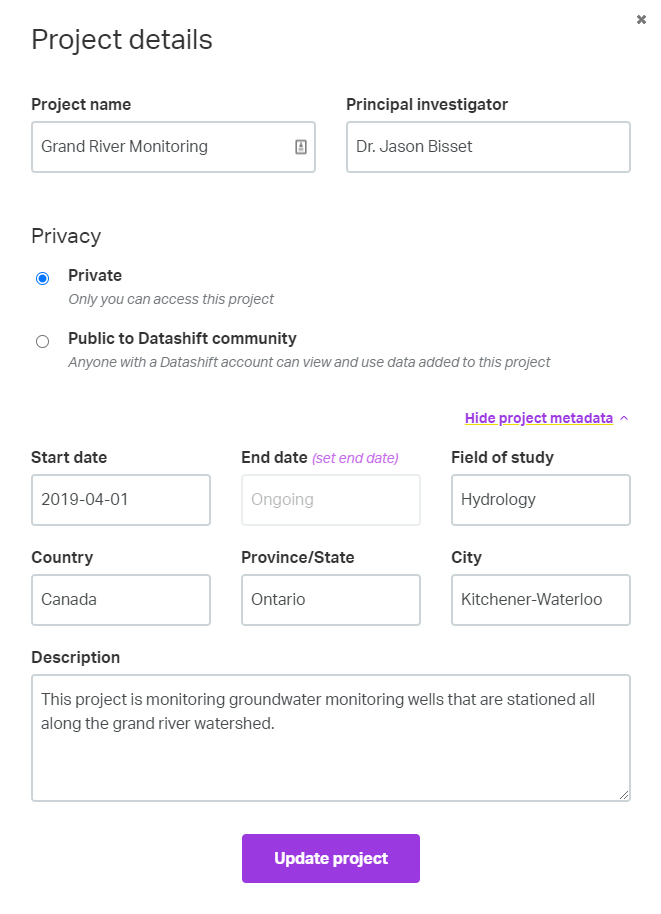
- If you are creating a new project, simply select "Public to Datashift community" under the privacy section and click "Create project".

- If your project is already created, from the main menu on your left, click on the project you wish to make public.
- Below the project name and description click "Edit project".
- Select "Public to Datashift community" under the privacy section and click "Create project".
Tip: To make your public data easily findable & accessible, make sure you complete the additional information section that is available to your project after it has been created.
Metadata for public projects
To make sure every project is searchable, the following details should be added to each public project:
- Start date— The first day when the first data point was recorded for the project.
- End date— The day where the last data point was recorded for the project. Or set asongoingif the project is still collecting data.
- Field of study— Select the most appropriate field of study that fits the project.
- Country, province/state, and city— Identify the best geographic location where the data within your project comes from.

Tip: Increase the visibility of your project by adding metadata to each datafile within your project in addition to adding metadata to your project.